Placing two small steps at each corner of a mat's window creates an elegant effect reminiscent of an art deco motif. The cutting part of the procedure is relatively simple once you've gotten the procedure straight in your mind. But getting the procedure straight can be somewhat challenging.
To begin with, realize that in most cases when cutting a mat, you begin and end each cut on the same set of pencil lines. This is because you have only one set of pencil lines to work with. However, when you cut a stepped corner mat, you have three sets of pencil lines to work with. You will not always start and stop on the same set of lines. In fact, to cut steps in the corners of a mat, you must start and stop on the set of lines opposite those you're cutting whenever possible. (In this case, by "opposite" we mean as in outermost versus innermost.)
Step One: How to Cut a Stepped-Corner Mat
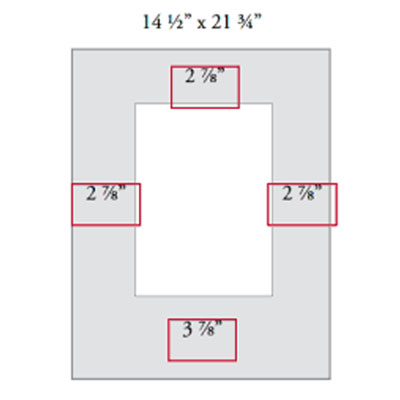
Mark your lines. You will mark your first set of lines a half inch outside the border width your measuring called for. So, if your measuring called for 2" borders, draw your first set of lines at 2 1⁄2". Then reset your mat guide and draw your next set of lines a quarter inch inside the first. In our example, the next set of lines would be at 2 1⁄4". Reset your mat guide for the border width called for in your measurements and draw a third set of lines. In our case, the setting would be 2".
Step Two: How to Cut a Stepped-
Corner Mat
You now have three sets of lines, each inside of the next—three marked out rectangles, as it were. The largest of the three surrounds the other two and will henceforth be referred to as the outermost rectangle. The smallest of the three is surrounded by the other two and will be referred to as the innermost rectangle. The rectangle lying between them is the middle rectangle.
Step Three: How to Cut a Stepped-Corner Mat
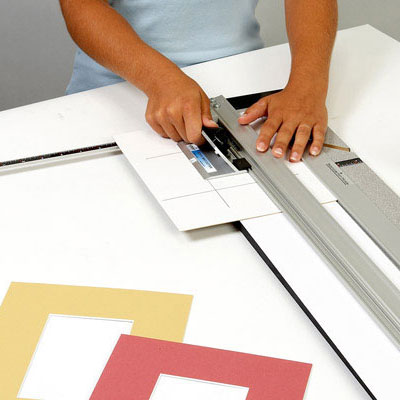
Leave the mat guide where it was set when you drew your last set of lines. Place the mat in the mat cutter face down under the guide rail and firmly against the mat guide. Bring the bevel cutting head into position to start your cut. You will be confronted with three lines at the start of the cut. The question of which line to start on is most pertinent to the success of this technique.
Remember, where possible you will always start and stop the cut on the set of pencil lines opposite the ones you are cutting. So which set of lines are you cutting? Whichever rectangle is lined up against the guide rail is the rectangle you are cutting. If you didn't move your mat guide since drawing your last line, the rectangle you are cutting first will be the outermost rectangle. So you will start and stop each cut on the set of lines that make up the innermost rectangle (which is opposite the outermost).
Step Four: How to Cut a Stepped-
Corner Mat
Align the start and stop indicator line on your cutting head with the top of the innermost rectangle. Cut until you reach the bottom of the innermost rectangle. Cut all four sides starting and stopping on the lines that make up the innermost rectangle. At this point your cuts will not meet in the corners.
Step Five: How to Cut a Stepped-Corner Mat
Readjust the mat guide to cut the middle rectangle, a quarter inch wider than the setting you were just at. In our example, the setting will be 2 1⁄4 ". Now the middle rectangle will be aligned against the guide rail. Since there is no rectangle "opposite to" the middle line, we will start and stop this cut on the middle rectangle. Align the start/stop indicator line with the top of the middle rectangle. Cut until you reach the bottom of the middle rectangle. Cut all four lines starting and stopping on the middle rectangle. After this set of cuts the drop-out piece will fall from the window.
Step Six: How to Cut a Stepped-Corner Mat
Readjust the mat guide a quarter inch wider than the last setting, taking it back to the setting it was at when you drew the first set of lines. In our case, that setting is 2 1⁄2 ". For the remaining four cuts you will have to hold the drop-out piece in the window. Fit the drop-out piece back into the window and, holding it together, replace the mat under the guide rail.
Step Seven: How to Cut a Stepped-Corner Mat
Now the innermost rectangle will be aligned against the guide rail. So you will start and stop your cuts on the outermost rectangle. Align the start/stop indicator line with the top of the outermost rectangle. Cut until you reach the bottom of the outermost rectangle. Caution: As you cut, long strips will fall from the mat.
Remove these as they fall out so they don't become an obstruction. Caution: As the strips fall away, the window will become larger; however, the drop-out piece will remain the same size. Soon the drop-out piece will slide and shift in the window space. Let it. You still need the drop-out piece in place to keep the bevel cutting head riding on a level plane. Caution: By this stage in the process it becomes difficult to keep clear which side you've cut and which side you haven't. It's easy to get confused and cut the same side twice. To avoid this, turn the mat a quarter turn clockwise after each cut. This way, if you get lost, you can stay on track simply by turning the mat clockwise after each cut and counting out four cuts.
Final Step: How to Cut a Stepped-Corner Mat
After you've cut your final set of cuts, the long strips and the drop-out piece fall away, revealing a stepped corner mat.


