The dust cover is the paper that covers and seals the back of the frame. In addition to preventing dust and insects from getting inside the interior space, it conceals the inner workings from clients and provides a nice finishing touch. This is where many frame shops put their promotional stickers.
Installing a dust cover is entirely optional. If you are framing for yourself and don't foresee dust or insects as a major problem, you might want to skip this step, especially if you've already sealed the edges of the stack of framing components with tape. If you do choose to install a dust cover, the process is fairly simple and made easier with the right tools and helpful insights.
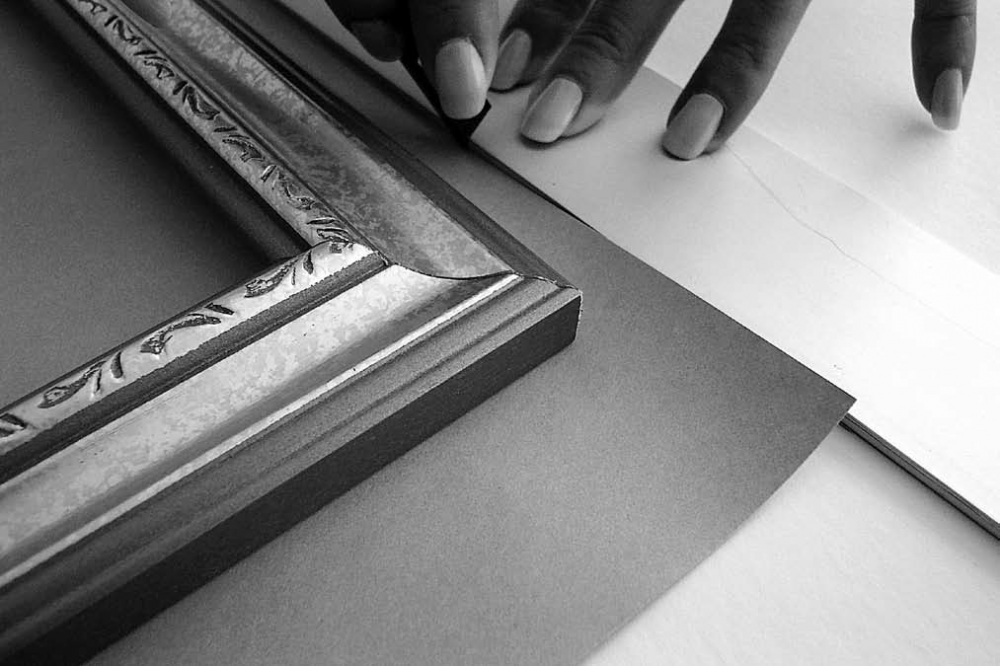
Step One: Cut your paper. Two types of paper are widely used for dust covers, either brown Kraft paper, also known as mailing paper, or acid-free frame backing paper. The latter is preferred for archival frame jobs. Cut the paper so it is about an inch wider on each edge than the frame size (Figure BB‑1).
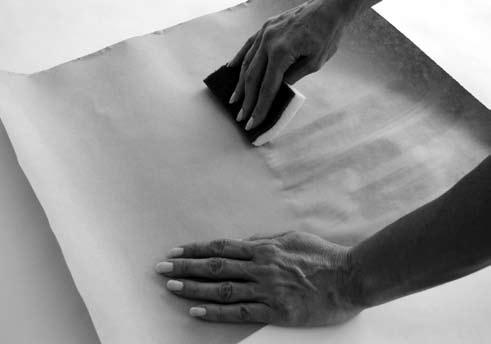
Step Two: Dampen the paper with a wet cloth or sponge (Figure BB‑2).
Step Three: Squeeze a bead of white glue onto the back of the frame (Figure BB‑3). Spread it out thin with a wadded paper towel.
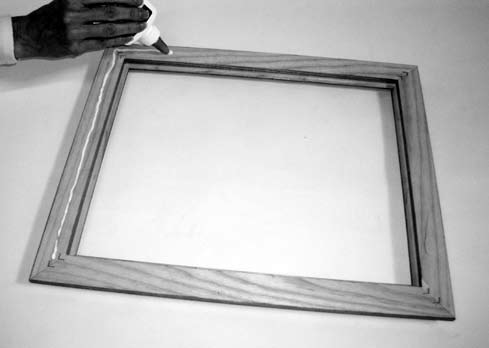
frame.
Step Four: Place the dampened paper on the back of the frame. Wait one hour for the paper to dry. To hasten things, use a blow dryer. As the paper dries, it will shrink, pulling as tight as a drum.
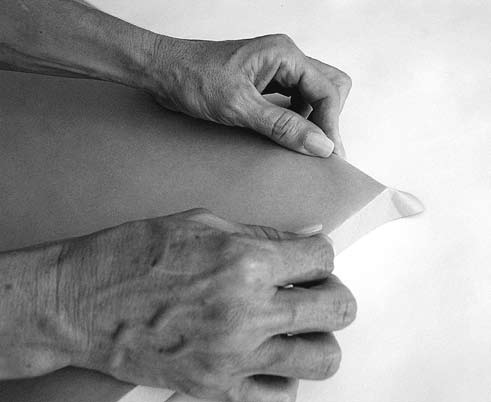
Step Five: Crease the edges of the paper to the edges of the frame (Figure BB‑4).
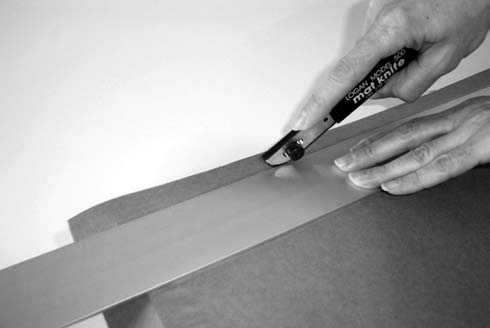
Step Six: Use a straightedge and mat knife to trim the paper to the edge of the frame (Figure BB‑5).