LOADING AND SECURING YOUR FRAMING
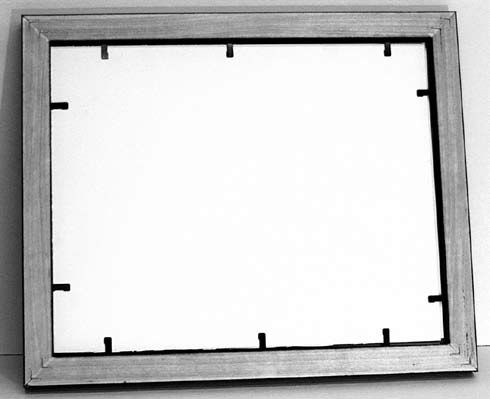
You now have everything you need to load the frame. If you have not already done so, stack your framing components together. If your artwork is mounted to foamboard, you won't need anything else behind it. On the other hand, if your artwork is mounted to a mat blank, you will want foamboard behind it to provide stability and fill the frame. Place your glazing over your matted, backed artwork, turn the stack over and place it in the frame (Figure AA‑1).
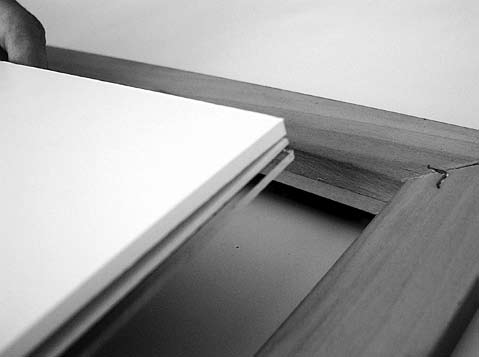
In most cases the stack of components will drop down, allowing you access to the interior wall of the rabbet. This is where you will drive a point or brad to secure the contents of the frame. From time to time, however, the stack may be too thick, preventing access to the rabbet. If this happens, use offset clips to secure the contents.
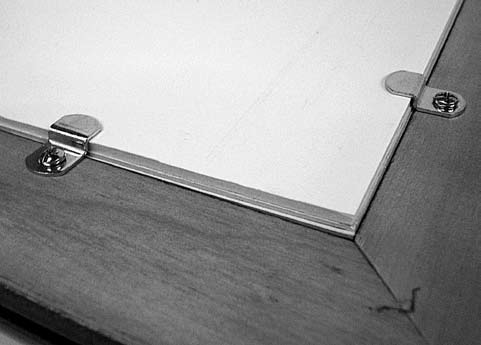
Offset clips are equipped with two right-angle bends forming off-setting flat ends between a vertical upright. One of the flat ends is screwed into the back of the frame while the other end overlaps the stack, holding it in (Figure AA‑2). When the stack sits low enough in the frame to allow access to the rabbet, you will be able to use the Logan Fitting Tool Model 400-1.
The process of loading and securing the contents in the frame is called "fitting" the frame. Thus, the name of this product. The Logan Fitting Tool is a unique device that inserts a variety of different points and brads, eliminating the need to own different devices to insert different points. The operation is simple.
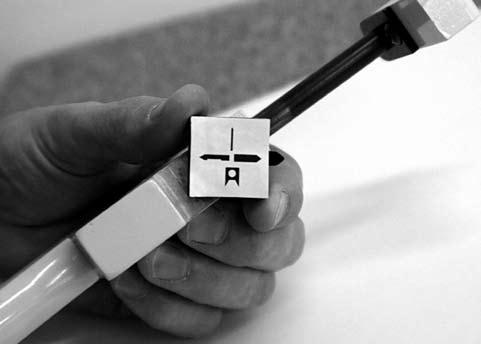
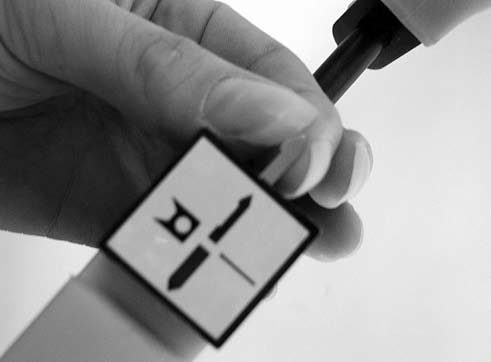
Step One: Choose the type of point or brad you want to use. The Fitting Tool can take framer's points, flexi-points, multi-points or brads. Rotate the turret to the setting for the point or brad of your choice (Figure AA‑3).
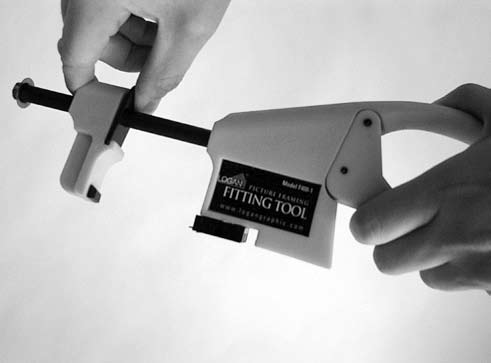
Step Two: Press the release tab and slide the foot away from the body (Figure AA‑4).
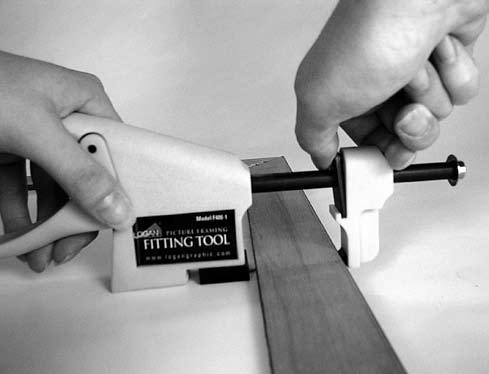
Step Three: Insert a point or brad into the turret, making sure the pointed end is sticking out (Figure AA‑5).
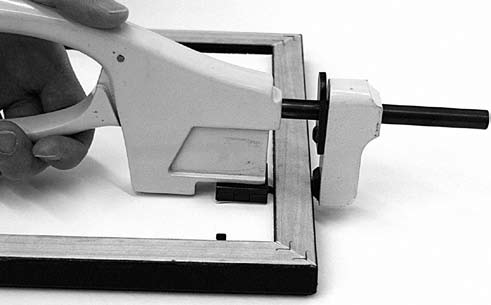
Step Four: Rest the body of the device on the back of the framing components. Move the body forward until the tip of the point is pressing against the interior wall of the frame rabbet (Figure AA‑6).
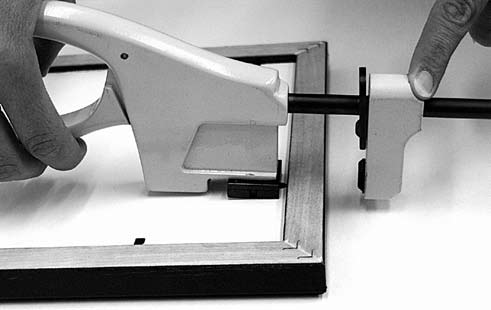
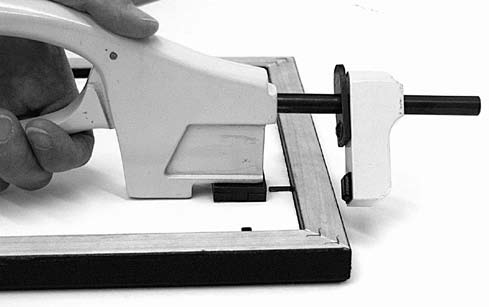
Step Five: Slide the foot back until it contacts the outside of the frame (Figure AA‑7).
Step Six: Firmly squeeze the handle, driving the point into the interior wall of the frame rabbet (Figure AA‑8). Caution: For best results keep the base of the device flat against the back of the framing components.
Step Seven: Press the release tab and slide the foot away from the frame (Figure AA‑9). Repeat for the remaining points.
As a general rule points or brads should be spaced about every 4" to 5" (Figure AA‑10). Insert your first point about 2" in from a corner. When you are finished securing the contents in the frame, you are ready to install the dust cover.