Guide Navigation
Introduction to Picture Framing & Matting
Designing Your Picture Frames and Mats
Color Selection
Matboard Types
Frame Types
Mat styles
Glass types
Measuring and Sizing Picture Frames and Mats
Mats
Frames
Costs of Picture Framing
DIY Picture Frames
Mat Cutting
Cutting mat board sheet to size
- Making the Most of a 32 x 40 Sheet
- Trimming Mat Board to Size
- Trimming Mat Board to Size with Straight Edge
- Trimming Mat Board to Size with Compact
- Trimming Mat Board to Size with Simplex
- Mat Cutting
- Cutting Single Mat Using a Straight Edge
- Cutting a Single Mat With a Simplex-Basics
- Cutting a single mat with a simplex-detailed
- Cutting a double mat
- Cutting a double mat- detailed professional version
- The professional framers secret for cutting a double mat
- How to measure and cut a double mat,
- Cutting a stepped corner mat – basics
- Cutting stepped corner mats – detailed
- Offset (stepped) corner mat
Mat Cutter Choices
Mat Cutting Help, Troubleshooting and FAQs
- Slip sheets
- The importance of using a slip sheet when cutting
- The importance of using a backing sheet
- Why am I getting a ragged cut?
- How to avoid rough or ragged edges when cutting mats
- Dealing with inconsistencies in the bevel edges
- Adjusting your mat cutter for proper blade depth
- The importance of proper blade depth
- Why am I getting a hook in the corners or curve in the bevel cut?
- How come I don't cut all the way through the mat board?
- How to conquer overcuts and undercuts?
- Dealing with overcuts and undercuts
- Why am I getting overcuts in the corners?
- Why are my mats not coming out square?
- Why is my bevel cut going the wrong way?
- How to cut left handed
- How to cut a 40" sheet of mat board on the 32" compact mat cutter
- Is using production stops the fool proof way to get perfect mats?
- Tips for working with production stops on your mat cutter
- Basic mat cutter maintenance
Mounting Your Artwork
Methods of Mounting
- Mounting your artwork
- Grappling with conservation and archival mounting concerns
- Supporting Artwork
- Hinge mounting T, V and S methods
- A simple method to a T-hinge mount
- Trapping methods
- Permanent mounting
- Wet mounting
- Pressure sensitive adhesive mounting
- How to mount artwork using positionable mounting adhesive (PMA)
- Spray adhesives
Glazing with Glass and Plastic
Securing or Fitting your Artwork in a Picture Frame
Finishing Your Artwork
Needle art can be mounted quickly and easily with acid-free needlework tape. To better preserve needle art and keep it out of contact with adhesive, you may want mount it by pinning and lacing. Cut a sheet of 3/16" thick foamboard about 3 inches smaller on each dimension than your canvas. Arrange some cotton batting in the middle of the foamboard and then place your canvas face up on top of it. Stretch your canvas around the edges of the foamboard uniformly at each edge and insert straight pins through the canvas into the soft core of the foamboard (Figure Y‑4). After pinning, many framers also lace the needlework across the back of the foamboard in a crisscross fashion.
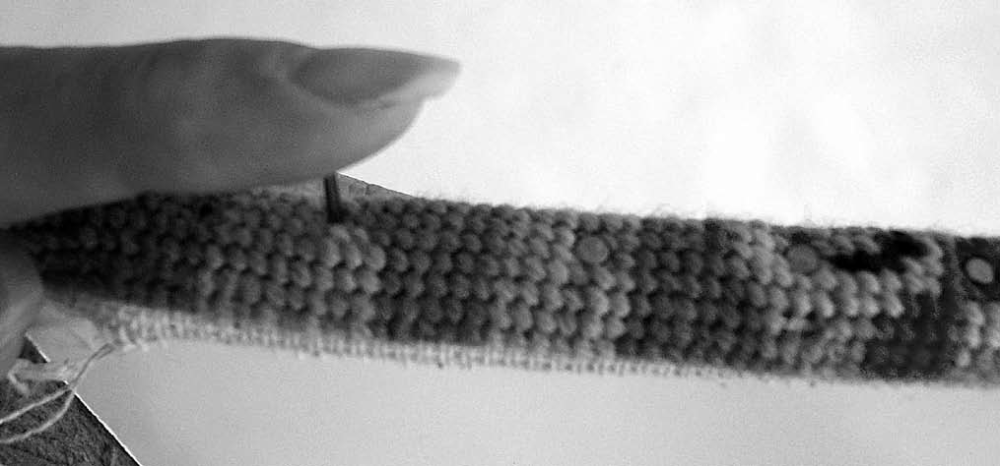
Figure Y-4: Stretch your canvas around the edges of the foamboard and insert straight pins into the core along each edge.


