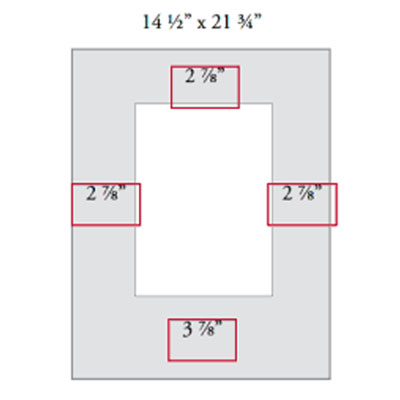
The border of a double mat consists of two areas of color, the broader area provided by the over-mat and the narrow band of color running around the inside of the window from the under-mat. Typically, the band of color is 1/4" wide, but it can be wider or narrower if you wish. So if the border of your double mat is 2" wide, and the band of color is 1/4" wide, the border of the over-mat will be 1-3/4" wide.
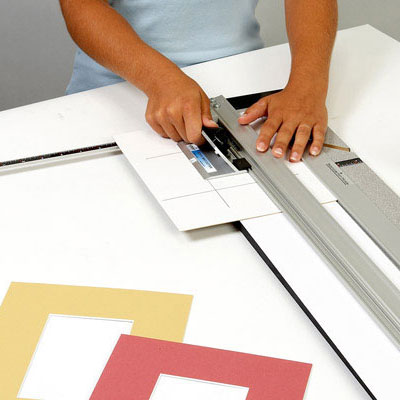
When you cut a double mat, you start out by cutting the over-mat first. See the post How to Measure for Mat Cutting and Picture Framing for basic steps in determining border widths and frame size. (You can use the archives drop-down menu at the right to find the post). Remember to set the mat guide and production stops for the size of the mat's border less a quarter of an inch. So if your measurements call for borders of 2", set your mat guide and production stops at 1-3/4". Cut the window in the over-mat. The part that falls out is called the drop-out piece.
Next, take the mat you intend to use as your under-mat and trim its perimeter edges so it's slightly smaller than the over-mat. For the logic behind this approach see the post The Professional Framer's Secret for Cutting a Double Mat.
Set aside the under-mat for a moment. Replace the drop-out piece in the window of the over-mat. The best way to do this is to lay the drop out piece face down and then fit the window mat over it, face down.
ATG tape is a double-sided tape ideal for holding mats together. Apply ATG tape in each border at the back of the mat. Do not apply tape on the cuts themselves. The object is not to tape the drop-out piece back into the window; but to apply tape on each border and in the middle of the back of the drop-out piece. After applying the tape, place the under-mat color side down on the back of the over-mat and press down to adhere.
Now with the two mats taped together prepare to cut the window in the under-mat. Set the mat guide and production stops for the border widths of the double mat. In our example, the setting would be 2".
Place the double mat, already taped together, in the mat cutter and cut the window in the under-mat. When you are finished cutting, the double drop-out piece will fall out and you will have a finished double mat, perfectly aligned and taped together.


