


Traditional braided picture wire provides the necessary strength for hanging but tends to fray at the ends, jabbing the user. Zerlon coating is a type of plastic coating that effectively keeps the wire from unbraiding while allowing the wire to retain its pliability.
Zerlon-coated hanging wire comes in three strengths: 19 lb., 25 lb. and 43 lb. Each strength is a measure of the weight-bearing capacity of the wire. If the framed piece is too heavy for the wire, the wire will unravel, pulling free of the hangers, regardless of the complexity of the knots used.
If the wire is adequate to hold the weight, it adds nothing to the wire's holding power to tie a complex knot. For this reason, the wire should be secured simply by coiling it around itself.
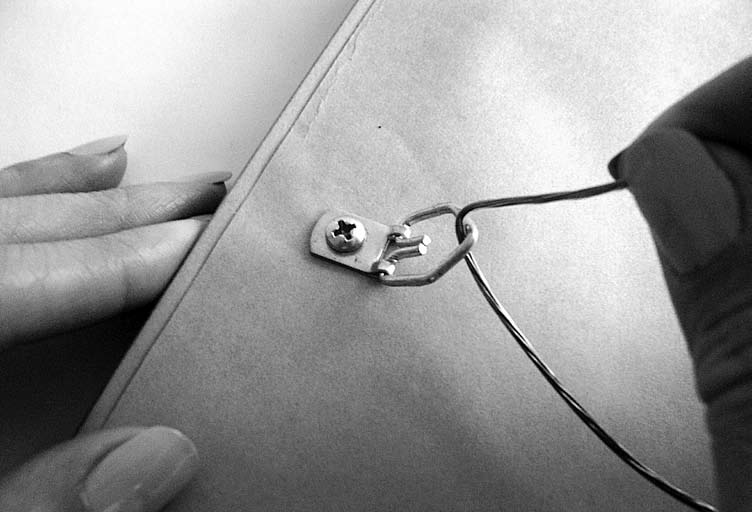
To attach the wire, insert one end through the D‑ring of your strap hanger (Figure DD‑1) and coil it around itself several times.
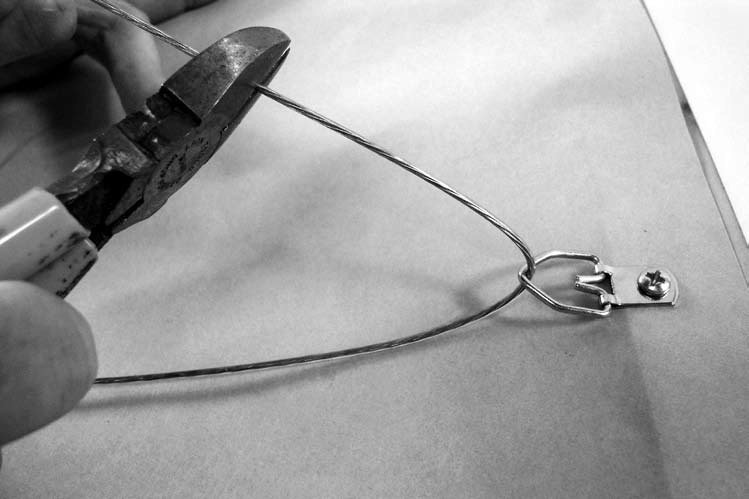
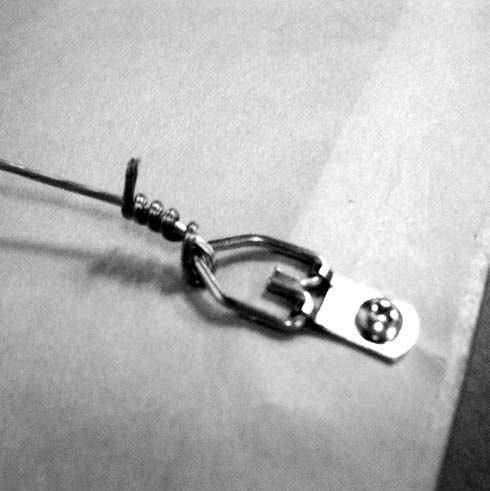
Stretch the wire across to the other hanger and pull it taut. Don't worry about leaving any slack in the wire. In spite of your best efforts at pulling it taut, you will end up with some slack, and there is no harm in leaving the wire relatively taut. It just means your framed piece will hang tight against the wall, which is desirable anyway. Allow for about 3-5 inches of wire to feed through the D‑ring on the opposite side. Clip off the excess wire (Figure DD‑2) and coil the remaining wire around itself several times (Figure DD‑3).
For a nice finishing touch, attach self-adhesive bumper pads to each corner on the back of your frame. These will prevent the frame from scratching the wall. The pads simply peel off a sheet of release paper and adhere to the dust cover (Figure DD‑4).

Attaching the bumper pads is the final step in the process. Your matted, mounted, glazed and framed artwork is now ready to hang.


