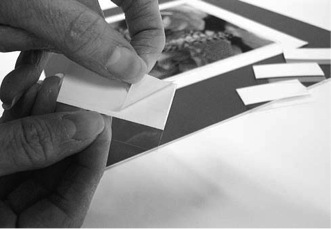
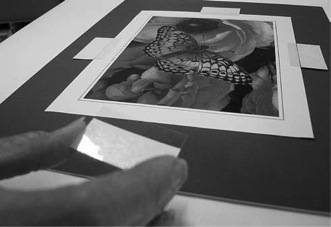
Perhaps the simplest trapping method is to use a product called See-Thru Mounting Strips by Lineco, Inc. (Lineco makes many of the mounting and hinging tapes used in picture framing.) A See-Thru Mounting Strip is a clear Mylar flange with a band of adhesive along one edge. The adhesive holds the strip to the mat while the Mylar flange overlaps and traps the artwork. Position your artwork on the mounting board. Peel the release paper from the adhesive band (Figure X‑1) and place the strip along one edge of the artwork (Figure X‑2). Trap the artwork at each edge and then cover it with your window mat (Figure X‑3).

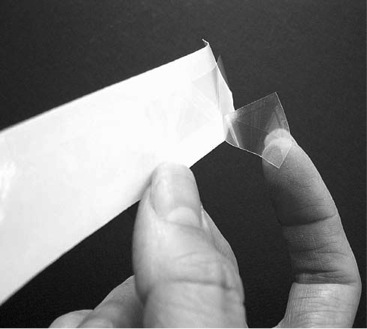
A variation on the same idea are adhesive mounting corners, called Photo Corners or Framer's Corners. Here you trap the artwork in triangular pockets at each corner. (Think in terms of your grandmother's photo album.) Position the artwork on the mounting board. Mark lines on the mounting board to indicate the position of the corners. Peel the corners from the release paper (Figure X‑4) and stick them down. Fit the corners of the artwork into the pockets (Figure X‑5) and your artwork is mounted. When it comes to heavy watercolor paper, canvas boards or other relatively flat yet heavy items, including magazines, books and record albums, the best approach may well be the sink mount. A sink mount is made by affixing strips of matboard or foamboard to the surface of a mounting board, creating a shallow recess or "sink" into which the artwork is placed. When covered by a window mat, the artwork is trapped front-to-back as well as sideto- side.
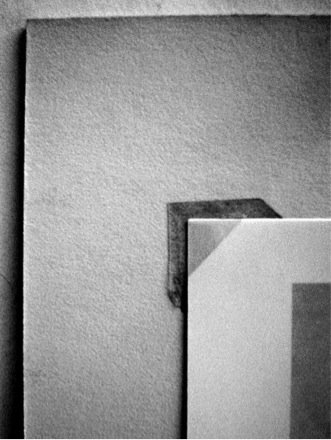
The thickness of the strip material should be about the same thickness as the item you are framing. If you are mounting a thick magazine or book, for example, foamboard would be called for; if you are mounting a canvas board, matboard would be your best bet; and if you are mounting heavy watercolor paper, you might want to make your strips out of a second piece of heavy watercolor paper. To create a sink mount, measure the artwork. Then figure out the height and width of the strips you will need to create the sink.


