Preparing Your Framing Materials
When you begin your picture framing project, many of the materials you plan to use are not in the condition necessary to use them. For example, at this stage your frame moulding is one long stick, not a picture frame. Your matboard and backing are in 32"x 40" sheets, not even reduced to frame size. And your glass or acrylic may be oversized. Before going any further you need to reduce your materials to size. Armed with the notes you took during the measuring and designing stage of the process, you are ready to proceed.
Cutting Picture Frame Moulding
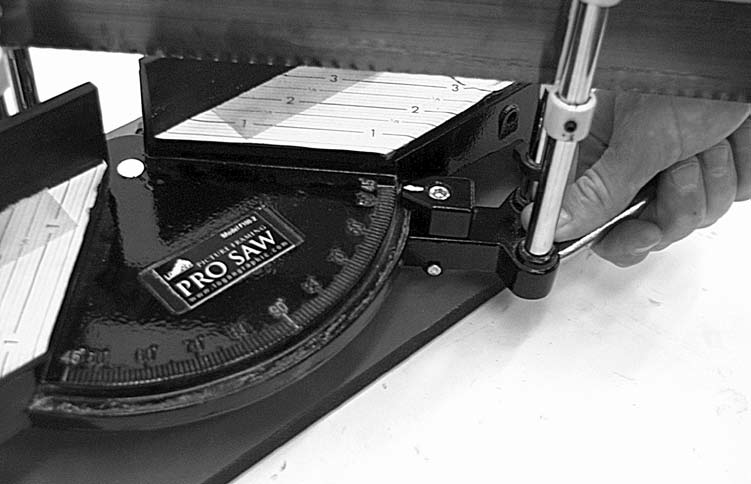
Logan offers two miter saws for miter cutting picture frame mouldings: The Pro Saw Model 100‑2 includes the Saw Fence Kit which is a measuring scale and fence extension that extends 36" to the left and 18" to the right of the basic saw fence to provide increased precision in measuring and moulding support. The Studio Saw Model 100-1 does not include the Saw Fence Kit, requiring measurements to be made with a rule or tape measure. The Saw Fence Kit can be purchased separately and added to the Studio Saw.
A saw fence is the cutting bed and back wall against which the moulding is placed during cutting. There is a slot in the fence through which the blade passes during cutting. Begin by cutting the two long sections first. If a mistake is made, the two shorter pieces can still be salvaged out of the longer pieces you made a mistake on.
Step One:
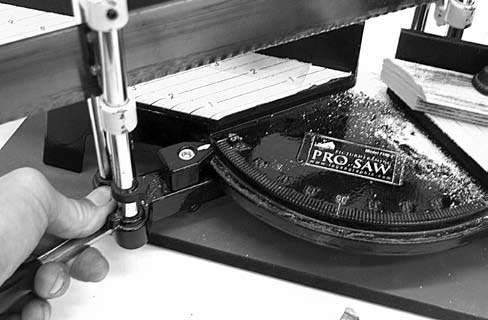
Set the pivot of your miter saw to 45-degrees on the right (Figure E-1). You will feel the pivot arm drop down and lock in as it finds the 45-degree position.
Step Two:
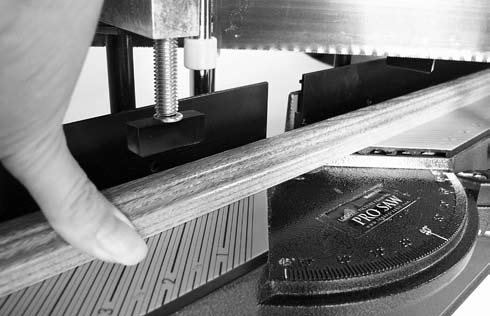
Place the stick of moulding against the saw fence. It is important to place the moulding on the fence correctly. The moulding should sit finished side up with the rabbet facing toward you (Figure E-2).
Step Three:
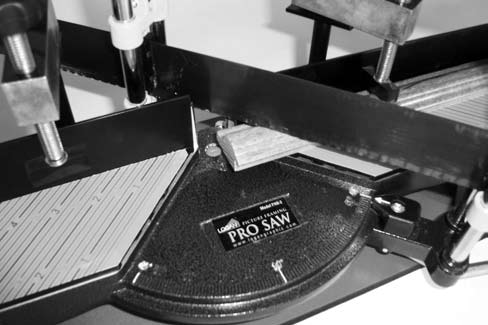
To begin with you are going to cut a miter at one end of the stick. Move the moulding just past the slot in the saw fence, enough so that a 45-degree cut can be made at the end of the stick (Figure E-3).
Step Four:
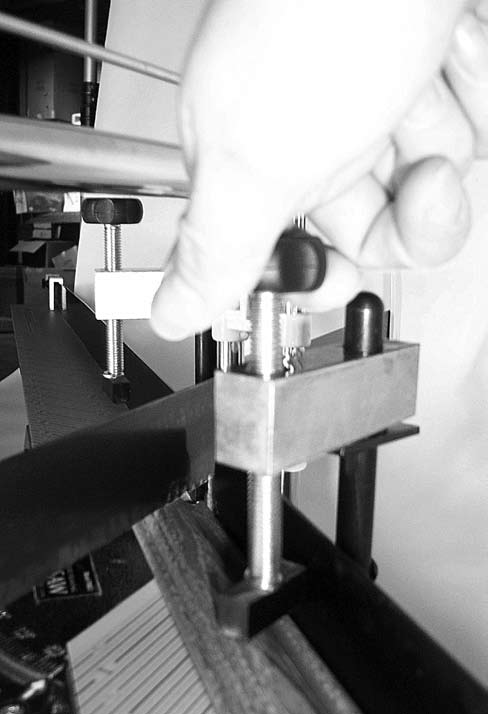
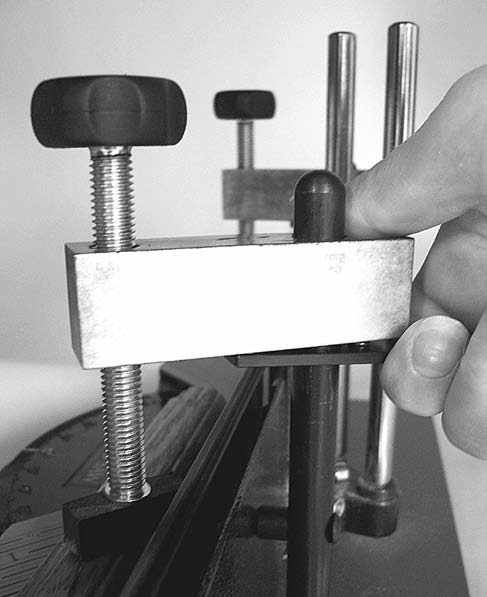
Clamp the moulding tight against the saw fence using the clamp foot. The clamp foot swings on a pivot, allowing you to clamp down against the contoured face of the moulding in different places. Choose a position for the clamp that will tend to exert pressure down and in on the moulding, pressing it against the fence (Figure E‑4).
Step Five:
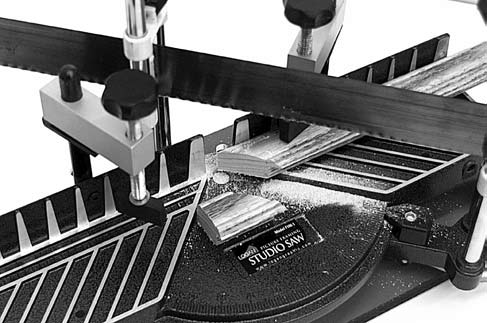
Cut the moulding by making long, full strokes. Speed and accuracy are increased when you make a sweeping motion, cutting down and through the moulding with each stroke. Decrease downward pressure on the saw as it finishes the cut to prevent the blade from breaking through the last part of the wood, causing splintering. (Figure E-5).
Step Six:
Release the clamp foot by pressing up on the quick release lever (Figure E-6). Slide it up and out of the way. Remove the moulding and inspect the cut for burrs and raggedness along the bottom edge.
Step Seven:
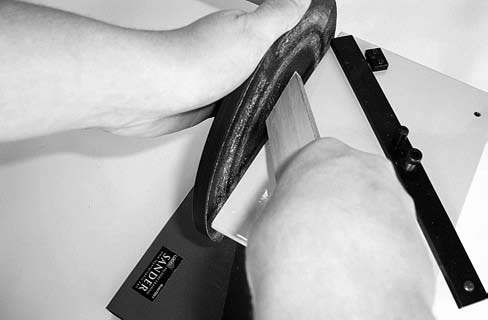
Sand away burrs and raggedness by stroking along the freshly cut edge with sandpaper. Stroke toward the center of the moulding. If you own the Logan Sander Model 200-1, hold the wheel stationary and draw the edge of the moulding against the surface of the sanding wheel, stroking toward the center of the moulding (Figure E-7).
Step Eight:
For the second cut, set the pivot of your miter saw to 45-degrees on the left (Figure E-8).
Step Nine:
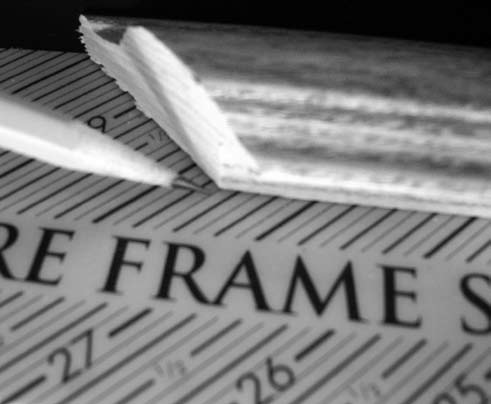
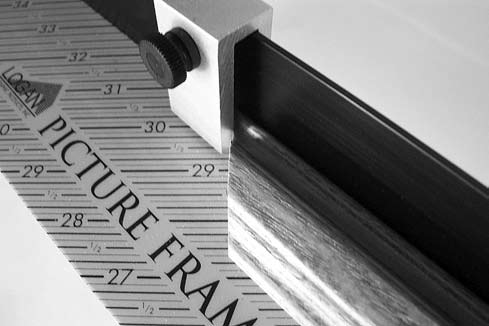
Place the moulding against the saw fence so the finished side is up and the rabbet is facing toward you. If your saw is equipped with the Saw Fence Kit, you will enjoy an advantage in measuring. On most rules and tape measures the increments are set at 90-degree angles, making it difficult to measure an object that is 45-degrees. With the Saw Fence Kit the increments are set at 45-degrees. Move the moulding along the scale until the corner of the rabbet is at the precise measurement. So, for example, if you are cutting a section that is 27 5⁄8", move the corner to 27" and then count five lines above it (the scale is graded in eighths) and move the rabbet corner to that line. (Figure E-9).
Step Ten:
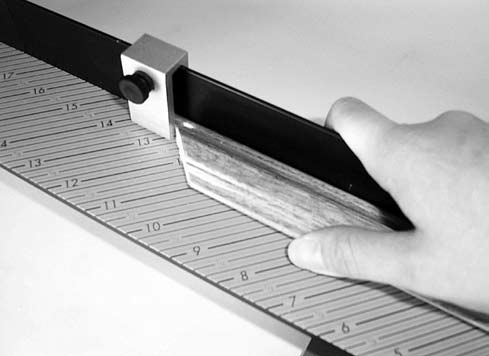
Move the fence stop against the moulding. Let the moulding seat itself within the gap at the back of the fence stop (Figure E-10). Tighten the fence stop into position. Clamp the moulding using the clamp foot.
Step Eleven:
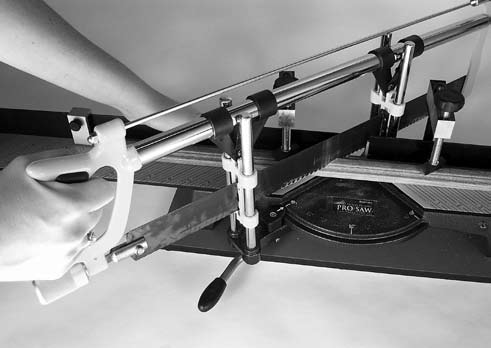
Cut the moulding (Figure E-11). Leave the fence stop set where it is. Release the moulding and sand away any burrs or raggedness.
Step Twelve:
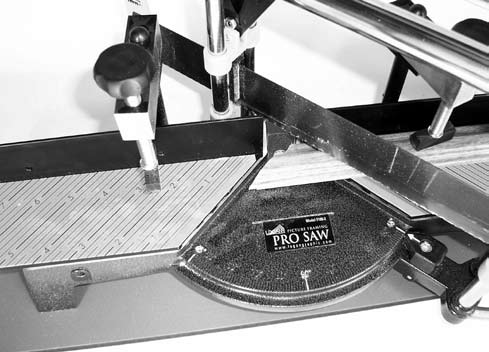
For the third cut, return your miter saw to 45-degrees on the right. Place the second stick of moulding against the saw fence so the finished side is up and the rabbet is facing toward you. Move the moulding just past the slot in the fence so that a 45-degree cut can be made at the end of the stick. Clamp the moulding using the foot clamp. Cut the moulding (Figure E‑12).
Step Thirteen:
For the fourth cut, move your miter saw back to 45-degrees on the left. Move the moulding along the fence until it contacts the fence stop which should still be in place from the previous setting. Place the moulding so that it seats itself within the gap at the back of the fence stop. Clamp the moulding using the clamp foot. Cut the moulding
Step Fourteen:
Repeat the above procedure for the remaining two frame sections.
Step Fifteen:
To check the precision of your work, lay the two frame sections of equal length on their backs side by side with the miters facing up. Align the miters. Run a finger across the surface of the two miters to be sure they are flush (Figure F-1 next page). Then check the miters at the opposite end. If they are not also flush, the cut is not exactly precise and, unless you correct it, you will have a gap at the corner when you join the frame. This is not uncommon. More often than not, your frame making will involve some sanding. But the job can be done quickly and easily with the right tool.


