At first blush it looks like the simplest thing, adding glass or Plexiglass to a picture frame. But glazing can present difficulties if not handled correctly. Having the proper tools is essential.
First, how are you going to get your glazing cut to the right size? Cutting glass and cutting Plexiglass (referred to hereafter as acrylic) appear to be pretty much the same process. However, they are different in subtle ways.
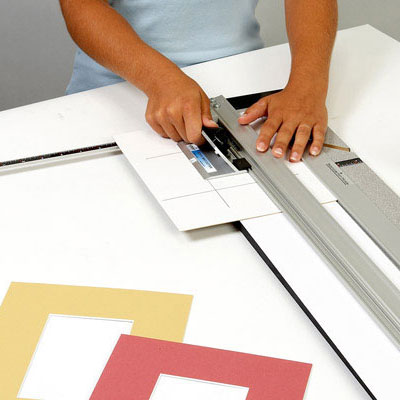
Cutting glass is a simple matter of scoring and snapping. Any store bought glass cutting tool will do the trick, but the Logan Model #704 Glass Cutter is specially designed to work with Logan mat cutting systems, allowing you to take advantage of the measuring systems that come with those mat cutters and avoid the tedious task of measuring the glass outside the cutter.
Cutting acrylic is another matter. A glass cutter will not cut acrylic. You will need an Acrylic/Plexi cutter like the Logan Model #709 Acrylic/Plexi Cutter. There are alternative hand-held acrylic cutters that cost far more, but this low priced tool will work just fine if you understand that you must score more than once.
Unlike glass cutters, acrylic cutters will not penetrate adequately with just one score. With a new #709 Acrylic/Plexi Cutter, be prepared to score on the same line 4-6 times before attempting to snap at the score. As the cutter ages, you will need to score even more times before snapping.
Most glass does not come with a protective mask over it and must be cleaned before use. Sprayway Glass Cleaner is a superior glass cleaning product used widely in the picture framing industry but these days many supermarket brands work just as well. A household paper towel works fine for wiping.
Acrylic is another matter. Acrylic has the virtue of being absolutely clean when you buy it. Acrylic typically comes with a plastic or paper mask covering both sides. Underneath the mask it's as clean as it's ever going to be. However, after the framed art has been hanging on the wall awhile, you may want to clean it. Glass cleaner won't work. You'll need an acrylic/plastic cleaner like 201 Plastic Cleaner, popular in the framing industry.
Be careful when you go to wipe acrylic. It scratches easily. Household paper towels can cause light surface abrasions in acrylic. Instead, use a soft cotton cloth. The Wyp-All Towel by Scott, although it is a paper towel, has the texture and feel of cotton and won't scratch acrylic.
What about dust and lint? Anybody who's ever framed before can describe the frustration of finding tiny motes of dust and lint on the inside of the glazing after everything has been assembled. These are the result of static charge on the glazing. To reduce or eliminate static charge, you'll need an anti-static brush or cloth. Kinetronics Anti-Static Brush is a framing industry favorite. Alternatively, Kinetronics Anti-Static Tiger Cloth can do the trick.
Finally, you will want to avoid fingerprints on the glazing as you handle it, so you will need gloves. Inexpensive white cotton gloves are available but they aren't worth the deceptively low price because they shred easily and won't last. Instead, invest in a pair of sturdy picture framing gloves like the Kinetronic Anti-Static Gloves, they are durable, washable and provide an extra edge against static-charge when using them.
Outfit yourself with these essential tools and you'll find the process of glazing for picture framing much less frustrating and an altogether smoother process.


