Watercolors present a special challenge when mounting for picture framing. Because they are original art, they are usually assumed to be worth preserving and should not be adhered with most self-adhesive mounting tapes, which are difficult to remove without tearing. What's more, watercolor paper is usually a high quality paper with a deckled edge, which many artists want to show entirely in the framed presentation, edge-to-edge.
For these reasons, mounting techniques that require the mat to overlap the edges of the artwork, such as trapping with archival mounting strips or mounting corners, are beyond consideration. Certainly, any technique that involves coating the back of the artwork with adhesive is out. So mounting with proper mounting tapes is the only alternative.
The Proper Tape for Mounting Watercolors
For mounting watercolors an easily reversible tape is essential. Reversibility is the ability to reverse the hold of the tape on the paper, allowing it to be peeled off without tearing. Gummed tapes are best for this purpose as they can be reversed with water. Just wet the head of a Q-Tip and work it along the edge of the tape. As soon as the water comes into contact with the adhesive it releases, allowing the tape to be peeled away cleanly.
Linen tapes are preferable to paper tapes when mounting watercolors. Linen tapes have a higher tensile strength, a primary consideration when mounting heavy watercolor paper.
Bearing all this is mind, gummed linen tape is the proper mounting tape for mounting watercolors.
The Proper Technique for Mounting Watercolors
The best mounting technique is the S-Hinge, which is the only hinge mounting technique that properly conceals the tape behind and within the edges of the artwork, a necessity when the edges of the artwork are irregular or deckled. "Hinge mounting" is just picture framing parlance for mounting using tape, as opposed to trapping or coating the artwork with adhesive.
Two perform an S-Hinge start with a mat blank cut to your frame size. Using an art knife or box cutter, cut two narrow slits in the mat blank about two-thirds of the way up from the bottom edge. Feed a strip of tape about 2" long through each slit adhesive-side-up relative to the top edge of the mat blank. Adhere half the tape to the back of the mat blank in the area above the slit. Allow the other half to hang tongue-like down the front side of the mat blank. The artwork is adhered image side up to the tape that hangs down the front.
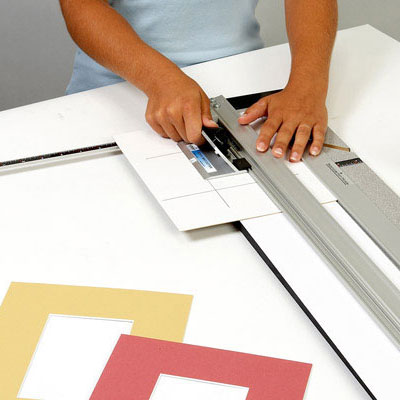
Once the artwork is mounted to the mat blank, a separate window mat can be cut with a window larger than the artwork. When the window mat is placed over the artwork, the artwork appears in its entirety (including its deckled edges) within the window of the mat. Glass is placed over the window mat. Foam board is placed behind the mat blank. The entire stack is placed in the frame and you're done.
Mounting watercolors is challenging because, given the nature of the art, your options are limited, but if you use the correct methods and materials, mounting watercolors is not difficult.


