Mat cutting is an art. A well-made custom mat is the result of quality materials, a quality mat cutter and practice.
To get a mat cutter in tip-top condition, look over the owner's manual that came with the cutter. The time will be well-spent and will save wasted materials and wracked nerves.
Here are a few general tips that can help ensure a top quality mat regardless of the equipment used.
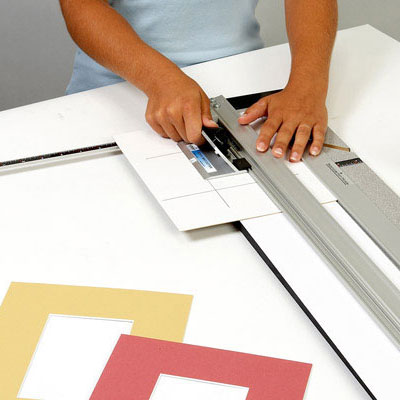
The base of the mat cutter must be fully supported and level.
• Use a perfect T-square when measuring. (Make sure the head does not wobble, etc.)
• Use a slip sheet—a strip of scrap matboard—on the face of the cutting board. This provides a cleaner cut. The slip sheet should be at least six inches wide and several inches longer than the mat opening that will be cut.
• Replace the slip sheet when it becomes ragged from too many cuts.
• Check the depth of the blade. It should slice all the way through the matboard and just scratch the slip sheet.
• Use sharp blades—always. It is cheaper to throw away pennies for a new blade than dollars for the matboard.
• Do not jab the blade into the matboard—slide it into position.
• Using the start and stop indicator, practice inserting the blade into the matboard at the intersections (the corners) to determine exactly where the blade should enter the board. A perfect mat has neat corners with no "overcuts."
• Try to keep the boards in a dry place—damp boards are harder to cut than dry boards.


